Homemade Nutter Butters
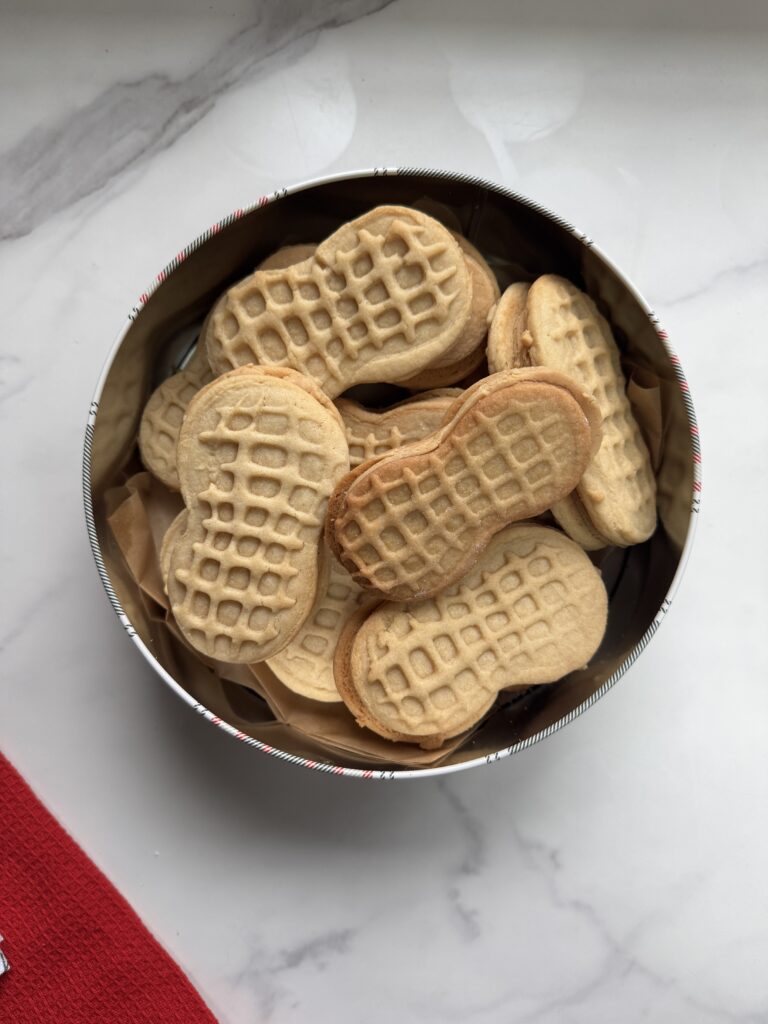
The iconic nutter butter cookie is one of the best pre-packaged snacks. If I had to choose between Oreos and Nutter Butters for the rest of my life…well…I may choose Nutter Butters. I have an affinity for remaking some of my favorite pre-packaged 90’s snacks and these are no different. It took a few recipe tests to nail the filling. So many recipes for homemade nutter butters use a buttercream filling which squishes out the sides. A buttercream filling is just too soft and smooth to replicate the true texture of the original filling. I think of that filling like the same texture as the inside of an Oreo. The cookie part of this cookie is super crunchy, as it should be! This part of the recipe is only slightly adapted from the incredible Stella Parks and her book “Bravetart”.
Do I need the Peanut Shaped Cookie Cutter?
No! I love making these look as authentic as possible but you can use any shape you wish. The key is to make sure you roll the dough to a thin 1/8 inch if you are not stamping. Stamping allows the dough to be thinner and therefore cook faster. So just make sure that if you are not using a stamp and cutter, the dough is the correct thickness!
Troubleshooting Homemade Nutter Butters Baking Issues!
- If you purchase the nutter butter cookie cutter, sometimes dough can stick inside of the cutter. Dip the stamp AND cutter in flour quickly before making cuts. This will help the dough stick less!
- If filling is too dry, add in more peanut butter 1-2 tablespoons at a time. Any variation here can happen because every peanut butter brand is different with different oil content so some may yield a dryer result. The filling should be the texture of playdough!
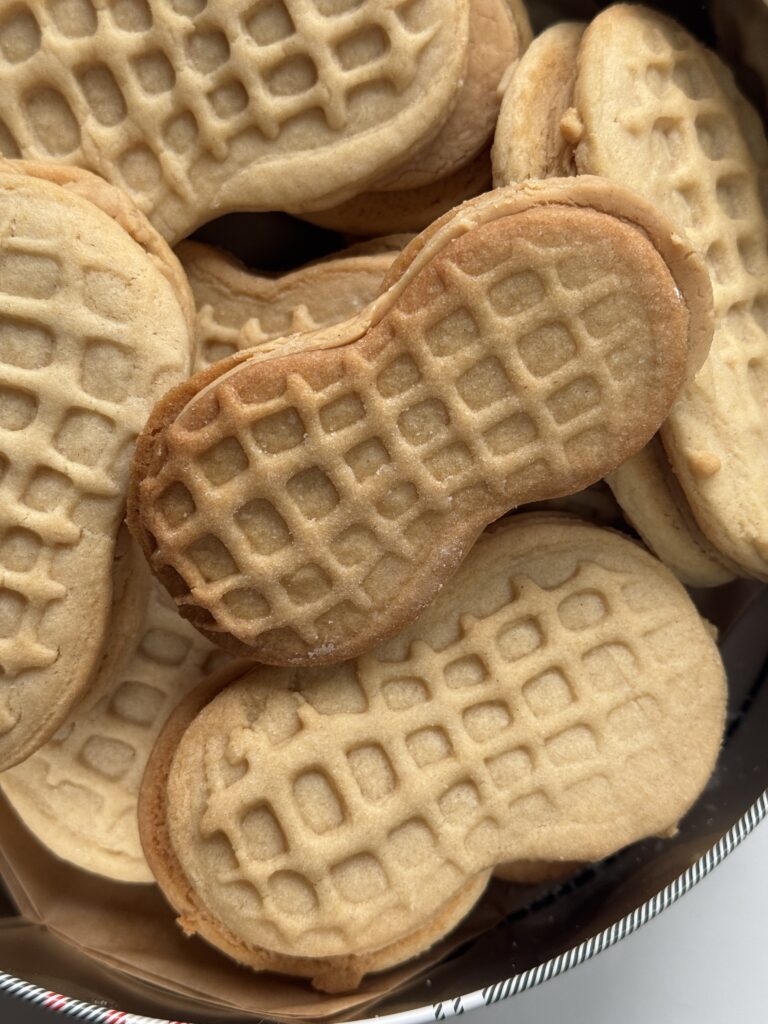
- If cookies SHOULD be crisp. Look for slight browning overall.
How Can I store Homemade Nutter Butters?
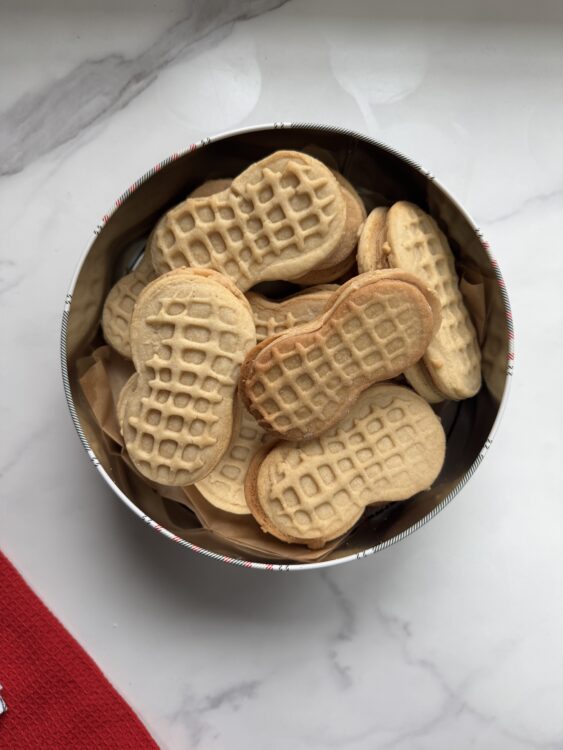
These cookies should be stored in an airtight container at room temperature for up to 4 days. For extended freshness, refrigerate assembled cookies for 1 week. If you wish, you can freeze the dough in one solid block OR you can continue through the steps of cutting out the dough and freeze the individual unbaked cookies. If you choose to freeze the cut-out cookies, place the dough on a cookie sheet lined with parchment paper. Freeze the uncovered tray until the cookies have hardened- about 3 hours. Next, place the frozen cookies in a plastic bag, separated by a piece of parchment paper. These cookies will stay fresh for up to 4 months! Just bake as written.
Ingredients
Homemade Nutter Butter Crunchy Cookie Ingredients
- 2 cups all-purpose flour 9 ounces, plus more for dusting
- 6 tbsp unsalted butter 3 ounces unsalted butter, room temperature
- 1/3 cup creamy peanut butter (NOT NATURAL) 3 ounces
- 1 cup granulated sugar 7 ounces
- 1/4 tsp baking soda
- 1/4 tsp kosher salt
- 2 egg whites
Filling Ingredients
- 1 cup peanut butter NOT NATURAL
- 2 tablespoons honey
- 2 tablespoons unsalted butter room, temperature
- 1/4 tsp kosher salt
- 1 1/4 cup confectioner's sugar (prepare for potential need for 1/3 cup more if consistency is too runny, depending on your peanut butter, it may be thinner)
Instructions
Prepare the Cookie Dough
- Preheat oven to 350 degrees F. Line a sheet pan with parchment paper and set aside
- In the bowl of a standmixer, fitted with a paddle attachment, add the unsalted butter, peanut butter, and sugar mix until fluffy and light, about 5 minutes. Scrape down the sides of the bowl with a nonstick spatula
- In a small separate bowl, add the egg whites. Then using a fork, beat the egg whites with a fork until foamy and thin, then add to the butter and sugar. Mix on low until combined
- Add in the flour, baking soda and salt. Gently mix to form a soft dough. You can use immediately. Alternatively, you can wrap the dough in cling wrap and refrigerate for one week (just let the dough come to room temp before you roll
- Prepare the work surface by sprinkling flour on a clean space. This will ensure that the dough does not stick to the counter as you roll. Roll the dough out to about 1/8 of an inch thick. The thinner the cookie, the crispier, the thicker- the softer and chewier! Use your cookie cutter to cut (and stamp if you have a peanut cutter) the dough.
- Transfer cut cookie dough pieces onto the prepared baking sheet. Making sure that you place them at least 1.5 inches apart. Bake for 11-15 minutes. Cookies will be firm and even in color.
Prepare the Filling
- In a large bowl, with a hand-mixer or in the bowl of a stand mixer fitted with a paddle attachment add the peanut butter, butter, honey, and salt. Mix until thoroughly combined (about 2 minutes in the stand mixer and 4 minutes with a hand-mixer).
- Scrape down the sides of the bowl with a nonstick spatula an add in the confectioner’s sugar. Mix until thick dough forms. Remove filling from bowl (you can use your hands during this part, it gets a little messy) and place on a piece of parchment paper. Place another piece of parchment on top and use a rolling pin to roll it out flat. It will be sticky. Roll it to 1/3 inch depending on how much filling you want.
- Using the same cutter you used for the cookies, cut the filling into a peanut shape. Carefully move the filling from the parchment to 1/2 of the prepared and COOLED cookies. Use the other 1/2 of the cookies to sandwich on top of the cookies with the filling.
Want more nostalgic snacks?
Try some of my other remakes!



Rate This Recipe
What did your think?