
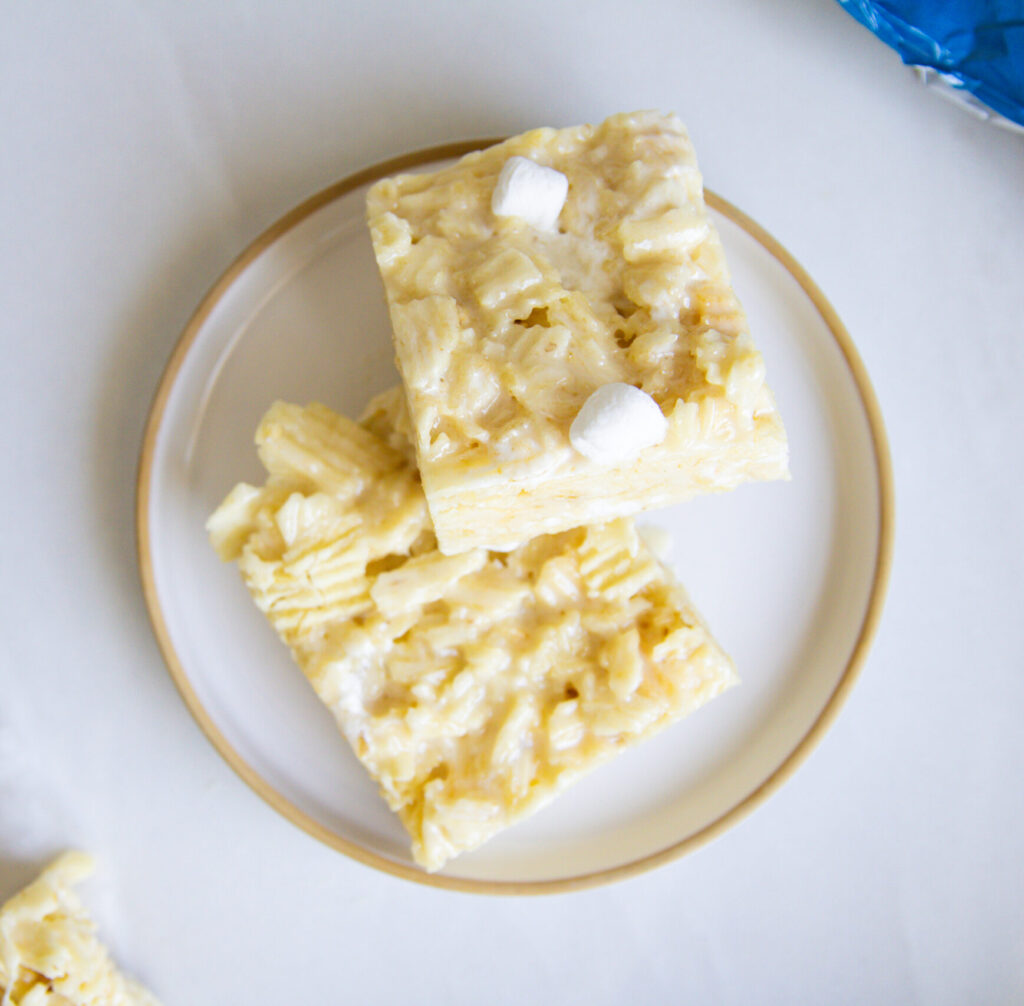
If you’re looking for a sweet-and-salty twist on classic Rice Krispies treats, these Potato Chip Rice Krispies Treats deliver the perfect combination of sweet, salty, chewy, and crunchy in every bite. Made with buttery marshmallows and crispy Ruffles potato chips, this easy no-bake dessert comes together in minutes.
Why You’ll Love These Potato Chip Rice Krispie Treats
Traditional Rice Krispies treats are a nostalgic favorite, but swapping cereal for potato chips creates an irresistible texture and flavor combination. The salty crunch of the chips balances the sweetness of the marshmallows, creating a treat that’s both unique and addictive. If you love rice krispies, check out some of my other unique rice krispie treat recipes!
Reasons to make this recipe:
- Easy 4-ingredient dessert
- No baking required
- Ready in under 30 minutes
- Perfect sweet and salty flavor
- Great for parties, holidays, and gifting
Ingredients
- unsalted butter
- 9 cups Ruffles potato chips, you can use another brand, but I found Ruffles stood up the best in terms of keeping their “crispiness”
- mini marshmallows
How to Make Potato Chip Rice Krispie Treats
Step 1: Crush the Potato Chips
Lightly crush the Ruffles potato chips with your hands. You want a mix of small pieces and larger chunks for the best texture. Set aside.
Step 2: Melt the Butter and Marshmallows
In a large pot over medium-low heat, melt the butter completely. Add 1½ bags of mini marshmallows and stir continuously until fully melted and smooth, I call this “marshmallow soup”.
Step 3: Add the Potato Chips
Fold the crushed potato chips into the melted marshmallow mixture until every chip is evenly coated.
Step 4: Add Extra Marshmallows
Stir in the remaining mini marshmallows (I use about a cup) and use a nonstick spatula to gently fold them throughout the mixture. These pockets of marshmallow create extra softness and texture.
Step 5: Press and Set
Transfer the mixture to a parchment-lined 8×8-inch baking pan. Gently press it into an even layer without compacting it too firmly.
Allow the treats to cool and set completely before slicing into squares.
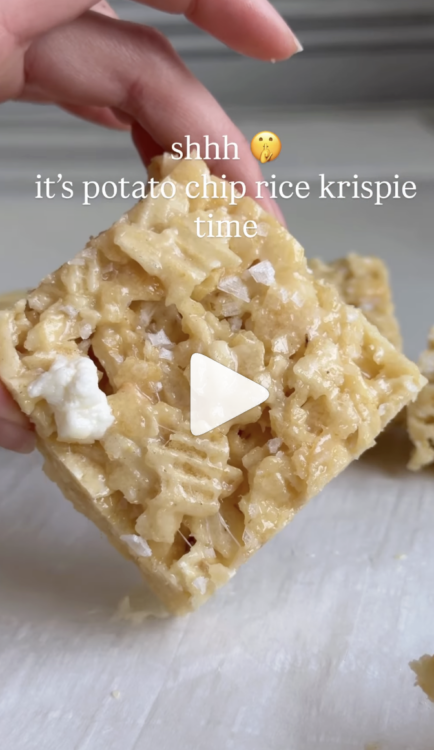
In Action
The perfect pi day recipe idea!! Blueberry pie cookies might be better than blueberry pie.
Tips for the Best Potato Chip Rice Krispies Treats
Use Ruffles Potato Chips
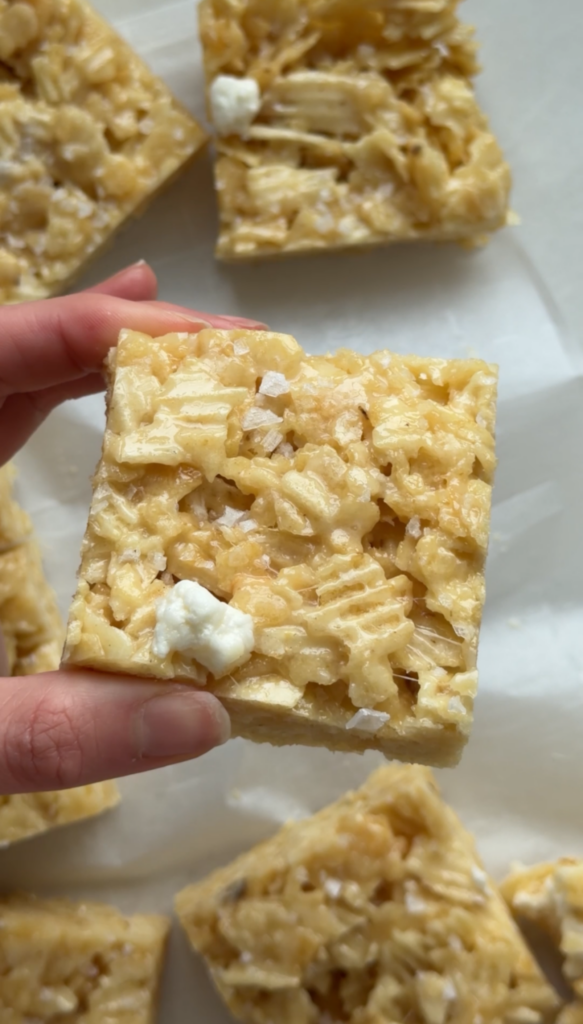
Ridged potato chips provide extra crunch and hold up better when mixed with the marshmallow coating. Don’t crush the chips too much. You want to make sure that you are leaving some larger pieces creates a more interesting texture and prevents the treats from becoming dense.
Press Gently
One of my tricks for gooey rice krispies is to just press them gently in the pan. It sounds silly but overpacking RKT’s can condense them too much, giving you less soft and gooey treats in the end. Just use light pressure so we can keep them soft and chewy.
How do I store potato chip Rice Krispies?
It is super easy to store these little no-bake treats. They are a little sticky, so place them in a Tupperware or ziplock bag with a piece of parchment separating the layers. The Potato Chip Rice Krispies Treats can be stored at room temperature for up to 3 days.
Frequently Asked Questions
Can I use regular potato chips?
Yes, but Ruffles-style ridged chips provide the best crunch and structure.
Can I make these ahead of time?
Absolutely- see the storage notes above!
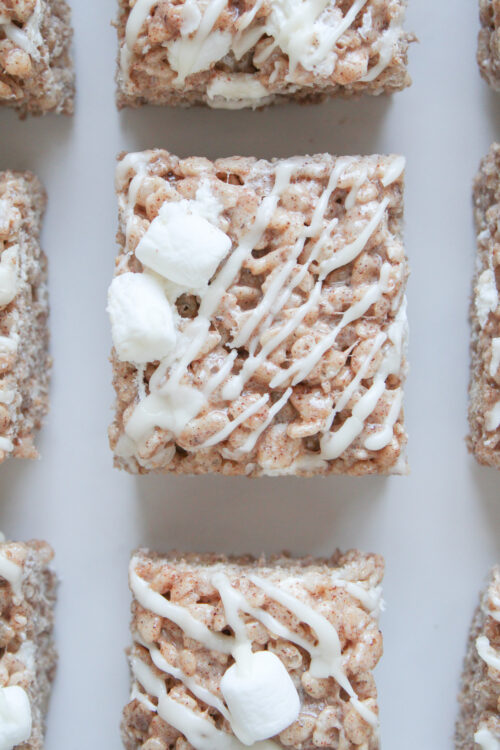
Can I add chocolate?
Uhh YES. I very much approve. Drizzle melted chocolate over the top or fold in chocolate chips after the mixture has cooled slightly.

Ingredients
- 12 tablespoons unsalted butter 160 grams
- 9 cups Ruffles potato chips roughly crushed by hand
- 1½ bags mini marshmallows 15 ounces, for melting
- Handful of mini marshmallows from the bag folded in at the end
Instructions
- Lightly crush the potato chips with your hands and set aside.
- Melt the butter in a large pot over medium-low heat. Add 1½ bags of mini marshmallows and stir until completely melted and smooth.
- Fold in the crushed potato chips until fully coated in the marshmallow mixture. Add the remaining mini marshmallows and gently fold them in.
- Transfer the mixture to a parchment-lined 8×8-inch pan and gently press into an even layer. Let set completely before slicing and serving.


Rate This Recipe
What did your think?