
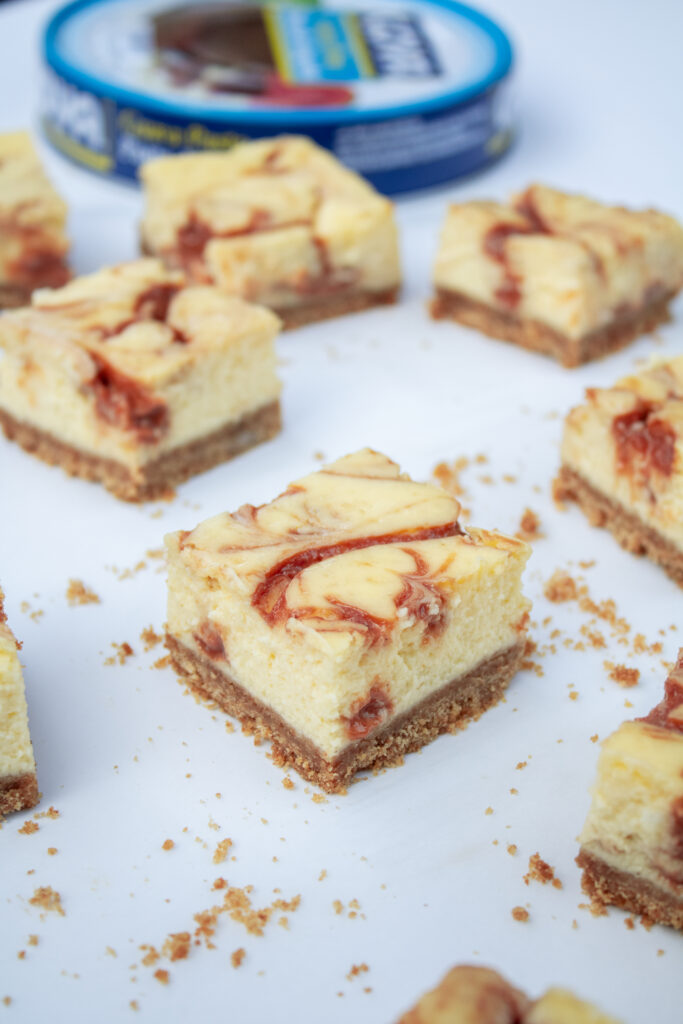
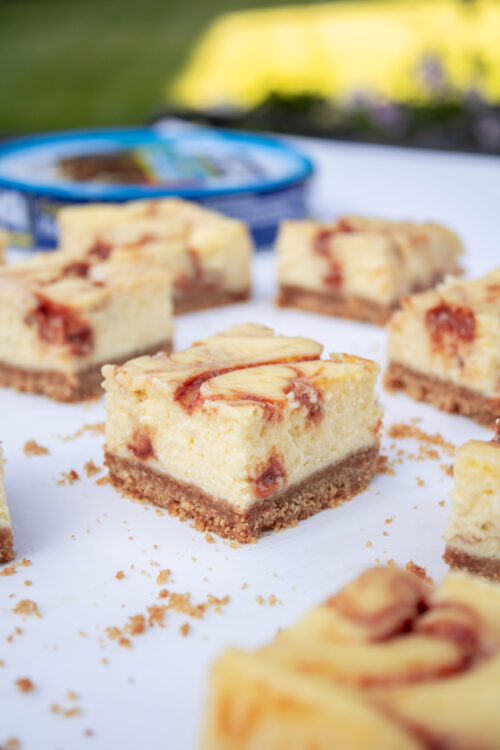
I love guava. The first time I was introduced to it was at one of my favorite local bakeries in the form of a guava pop-tart. It was basically just Guava pastelitos but in a poptart shape, with frosting, and sprinkles. Since then, I take every chance I can to consume it. It is best served juxtaposted with cream cheese in pastelitos which made me think it would be incredible in cheesecake form. So, we made these guava swirl cheesecake bars. They combine a buttery graham cracker crust, creamy cheesecake filling, and a vibrant guava swirl. The rich, tangy filling balances the tropical sweetness of guava paste, while the crust adds just the right amount of texture to every bite.
I love a cheesecake bar vs baking a full cheesecake so these are whipped together and baked in an 8X8 square pan then cut into individual portions.
Craving more cheesecake?
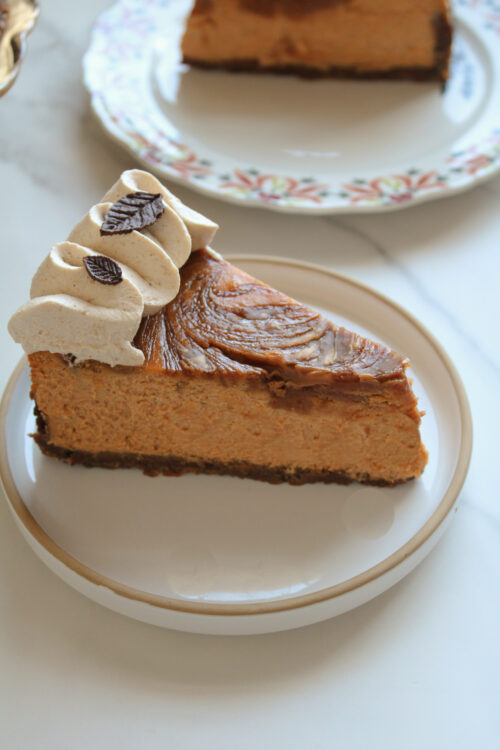
Check out my recipe for pumpkin cheesecake with a gingersnap crust!
Where do I buy guava paste?
Pretty much every grocery store has guava paste in their international sections. If for some reason you can’t find it there, it is always available on Amazon. Bonne Maman even sells a guava jam now!
Tips for Making Guava Swirl Cheesecake Bars
As with all baking, room temperature ingredients make a big difference. For the best texture, start with cream cheese that has softened to room temperature as well as room-temperature sour cream and eggs. Ever make a recipe and notice the batter “curdles” when you add in your eggs and/or dairy? Room temp ingredients will fix that!
We make this batter in a stand mixer or with a handmixer. Either way, scraping down the sides and bottom of the mixing bowl plus beaters will make sure that you don’t have any small pieces of unmixed cream cheese from remaining in the batter.
Follow the recipe’s cooling and chilling directions before cutting the cheesecake into bars. Properly set cheesecake is much easier to portion cleanly.
How to Create a Defined Guava Swirl
Guava paste is naturally thick, so melting it and combining it with warm water makes it easier to work with.
Add and swirl the prepared guava mixture according to the directions in the recipe card. Use a light hand so the guava remains visibly distinct from the cheesecake filling rather than becoming completely blended into it.
A few defined streaks will create a more noticeable marbled effect on the finished bars.
How to Get Clean Cheesecake Bar Slices
I am passionate about getting clean slices. Listen, it isn’t always easy but it is always worth it. I even have a whole page in my cookbook dedicated to getting the perfect slice. When it comes to cheesecake, making clean slices requires just a little bit of patience. Wait until the cheesecake has cooled and chilled COMPLETELY before attempting to slice it.
Then go over to your sink and keep a sharp knife, a damp paper towel and warm water running. On a clean surface place the bars down. Run the knife under hot water and use the paper towel to dry it off. Slice with the warm knife and repeat, rinsing the knife after each cut. Yes, we are wiping the blade clean between cuts. This prevents crumbs and cheesecake filling from transferring onto the next slice. A clean knife = clean slices!
Equipment
- 1 8 x 8" pan
Ingredients
Graham Cracker Crust
- 180 grams graham cracker crumbs, about 11 large graham cracker sheets ground up
- 3 tablespoons dark brown sugar, 45 grams
- 7 tablespoons unsalted butter, melted, 95 grams
Cheesecake Filling
- 16 oz cream cheese, softened to room temperature
- 3/4 cup granulated sugar, 170 grams
- 1/4 cup sour cream, 57 grams, room temperature
- 3 eggs, room temperature
- 1 tsp vanilla extract
- 1 tsp fresh lemon juice
- 1/4 tsp fine sea salt
Guava Swirl
- 1/4 cup guava paste, 100 grams or about 6 tablespoons, melted
- 4 tbsp warm water
Instructions
- Preheat the oven to 350°F. Line an 8×8 pan with parchment paper, leaving a 2-inch overhang on at least 2 of the sides. Set aside for later.
- In a large bowl, stir to combine the graham cracker crumbs and brown sugar. Add the melted butter and stir to combine. Add the mixture to the prepared pan and use a measuring cup to firmly press it into the bottom of the pan. Bake for 10 to 12 minutes, until golden brown around the edges. Set aside to cool.
- Lower your oven temperature to 325°F.
- For the cheesecake filling, beat the cream cheese and sugar together until smooth and creamy. Make sure to scrape down the sides of the bowl as you mix. This should take at least 1 minute. Add in sour cream, then add the eggs in one at a time, blending after each. Add vanilla, lemon juice, and salt. Blend until just combined; make sure you don't overmix. Spread the filling over the cooled crust. Tap the pan against the counter to release air bubbles.
- For the guava swirl, melt down 1/4 cup of guava paste in the microwave. Microwave in 20-second intervals until fully melted. Add 4 tsp of warm water to the melted guava paste and mix until combined. Next, take a spoon and drizzle the guava over the top of the cheesecake in small dollops. Then, using a knife or a skewer, swirl the guava into the cheesecake gently.
- Bake at 325°F for 30 to 35 minutes; the 8×8 is shallower, so it will set faster than a larger pan. Look for set edges with a slight jiggle in the center. Cool completely on a rack, then cover and refrigerate at least 6 hours or overnight.
- Slice and enjoy! Baked bars can be stored in an airtight container in the fridge for up to 1 week.

Rate This Recipe
What did your think?